 At Road 2017, Jennifer O’Brien from Sew Craft taught a $5.00 Lecture Class, Machine Quilting on your Featherweight. The first thing that the students learned was, yes, you can machine quilt using the small but mighty Featherweight. In fact, the principles are similar to any machine quilting project.
[caption id="attachment_4904" align="aligncenter" width="625"]
At Road 2017, Jennifer O’Brien from Sew Craft taught a $5.00 Lecture Class, Machine Quilting on your Featherweight. The first thing that the students learned was, yes, you can machine quilt using the small but mighty Featherweight. In fact, the principles are similar to any machine quilting project.
[caption id="attachment_4904" align="aligncenter" width="625"] Photo by Brian Roberts Photography[/caption]
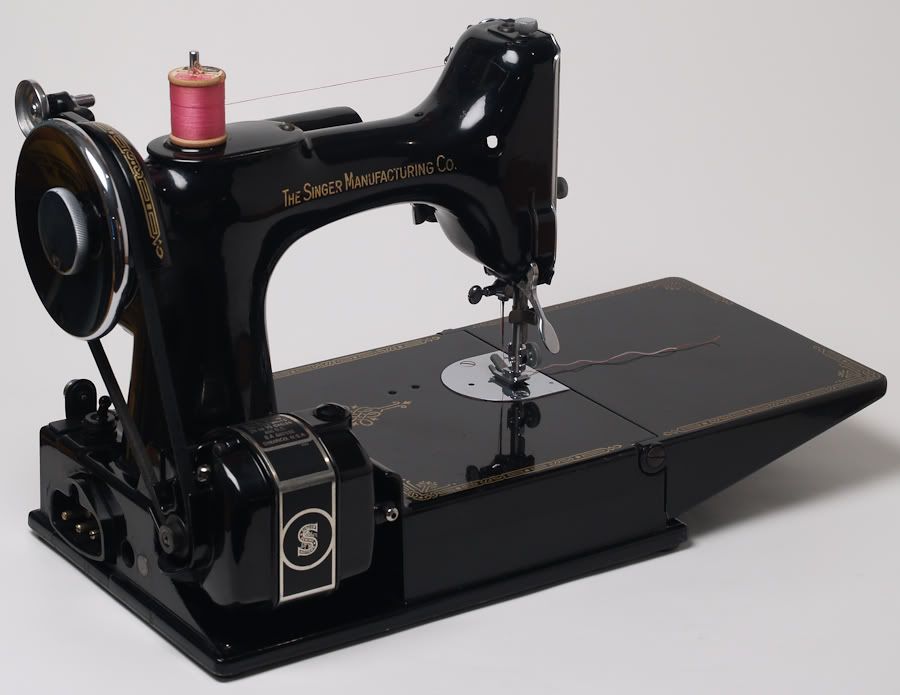
In order to do free-motion machine quilting, there has to be free movement. Because the feed dogs on a Featherweight cannot be lowered, they need to be covered up so the fabric can move smoothly for quilting. Jennifer suggested using a Teflon pressing sheet cut the size of the arm of the Featherweight and secured to the machine using either masking tape or 404 adhesive spray. She also advised to cut a small triangle hole in the area where the needle goes in and out to avoid having the needle rub against the Teflon.
Another adjustment to the Featherweight for machine quilting is trading out the pressure foot for a machine quilting pressure foot. She recommends a “big foot” because it has an oversize, clear foot.
To start quilting on a Featherweight, start from the center of the project. With the pressure foot raised, put the material under the pressure foot then lower the needle down and up one time so that the bobbin thread just pops up. Pull the bobbin thread up to the top to prevent it from bunching up underneath the fabric. Once the thread has been secured on top, lower the pressure foot and begin gliding the material to free motion quilt the material.
Jennifer made a video to demonstrate these starting tips:
Because the sewing area of a Featherweight is limited, Jennifer cautioned that handling the fabric can be tedious. She recommended putting a table to the side of the sewing area to handle the weight of the fabric.
[caption id="attachment_4907" align="aligncenter" width="440"]
Photo by Brian Roberts Photography[/caption]
In order to do free-motion machine quilting, there has to be free movement. Because the feed dogs on a Featherweight cannot be lowered, they need to be covered up so the fabric can move smoothly for quilting. Jennifer suggested using a Teflon pressing sheet cut the size of the arm of the Featherweight and secured to the machine using either masking tape or 404 adhesive spray. She also advised to cut a small triangle hole in the area where the needle goes in and out to avoid having the needle rub against the Teflon.
Another adjustment to the Featherweight for machine quilting is trading out the pressure foot for a machine quilting pressure foot. She recommends a “big foot” because it has an oversize, clear foot.
To start quilting on a Featherweight, start from the center of the project. With the pressure foot raised, put the material under the pressure foot then lower the needle down and up one time so that the bobbin thread just pops up. Pull the bobbin thread up to the top to prevent it from bunching up underneath the fabric. Once the thread has been secured on top, lower the pressure foot and begin gliding the material to free motion quilt the material.
Jennifer made a video to demonstrate these starting tips:
Because the sewing area of a Featherweight is limited, Jennifer cautioned that handling the fabric can be tedious. She recommended putting a table to the side of the sewing area to handle the weight of the fabric.
[caption id="attachment_4907" align="aligncenter" width="440"]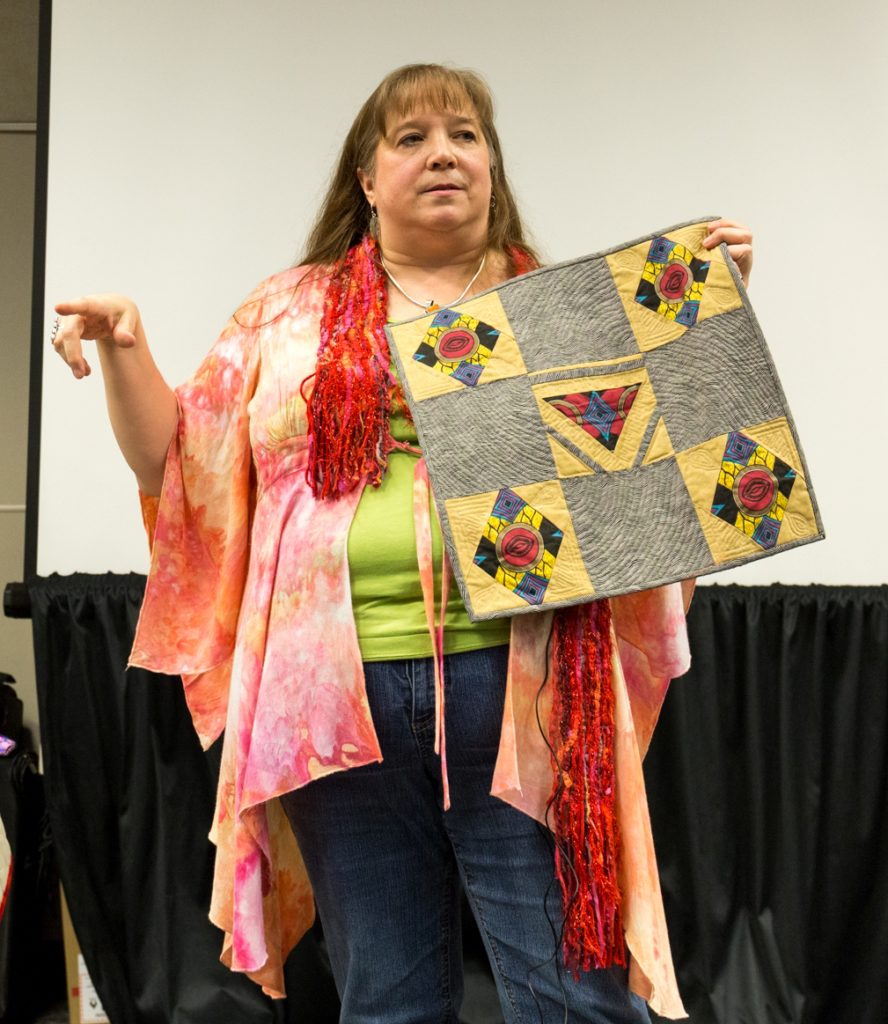 Photo by Brian Roberts Photography[/caption]
As with all quilting, Jennifer said that Featherweight machine quilting takes practice, especially moving the fabric under the machine. She mentioned that quilting curves is easier than “stitch in a ditch” with a Featherweight. Jennifer suggested that the best way to practice is to make loops, L’s and C’s and even writing your name. Her final advice was to start small to encourage completing projects, pace yourself and don’t hurry.
Photo by Brian Roberts Photography[/caption]
As with all quilting, Jennifer said that Featherweight machine quilting takes practice, especially moving the fabric under the machine. She mentioned that quilting curves is easier than “stitch in a ditch” with a Featherweight. Jennifer suggested that the best way to practice is to make loops, L’s and C’s and even writing your name. Her final advice was to start small to encourage completing projects, pace yourself and don’t hurry.
Tags: 1934 Chicago World's Fair, Featherweight, Machine Quilting, Singer Featherweight 221, Singer Sewing Machine


I doubt I’ll ever free motion quilt on my FW, but I still use it for workshops when I know I don’t need to zigzag. My mom bought it at the San Francisco World’s Exposition in 1939.