Home
General Information
Show Info
FAQ
Volunteer at the Show
Raffle Quilts
Quilt Contest
Contest Winners
Special Exhibit
Quilt Cruise
Vendors & Classes

Class Information
Faculty Application
Vendor Application
Contact
My Account
Create an Account
Login
Enter
My Home page
Edit my Information
My Entries
My Schedule
Lectures
Show Guide
Change password
Contact Us

Posts Tagged ‘Machine Quilting’

Twice The Fun Bernina Machine Quilting At Road 2018

Saturday, October 7th, 2017

Looking to begin or enhance your machine quilting skills?

Not sure if you want to use a domestic or longarm machine for your quilting?

Curious about the Bernina brand?

Road to California 2018 is offering three machine quilting classes taught by Sue NIckels where students get to experiment with both a Bernina domestic sewing machine and the Bernina Q-20, a sit down longarm machine.

Monday: 1011C     Machine Quilting Essentials 

Tuesday: 2011C   Freemotion Focus on Fillers  Wednesday: 3080C Masterclass on Feathers 

Sue Nickels will be traveling to Road to California from Ann Arbor, Michigan. She has taught quilting on quilting cruise to Norway (which included a stop in the Arctic Circle!) and on a cruise that had stops in South Korea, China and Japan.  She has also taught classes for Quilts Dubai in the United Arab Emirates as well as in New Zealand and Australia. Sue and her sister, Pat Holly, are in their 4th year leading the annual Hollygirls Quilt Retreat each fall. They took over for Gwen Marston’s Beaver Island Quilt Retreats when she retired in 2013. Sue loves the history of quilts and quilting and is “very inspired” by antique quilts- especially the appliqué quilts of the 1800’s. She is also inspired by her international travels and textiles from around the world.

Of course, Sue’s favorite quilting tool is her Bernina sewing machine. She says, “Having a sewing machine that allows me to do the machine appliqué and machine quilting I love is essential. Her other favorite quilting tool is curved tip snips to clip threads. Why? “The curved tip snips make it easy to clip threads when machine quilting. Without them it would take much longer to do machine quilting.” What does Sue like best about teaching? Sharing her enthusiasm for machine techniques and encouraging students to become relaxed and enjoy machine techniques. She also loves quilters and enjoys being with her students. Sue hopes every student in her Road classes, at the end of the day, will learn new skills, improve on skills they already have and most of all, enjoy the process of machine techniques. You can learn more about Sue on her website.  

]]>

Machine Quilting On A Featherweight

Thursday, May 4th, 2017

featherweight photo: View 8 MW150006.jpg 
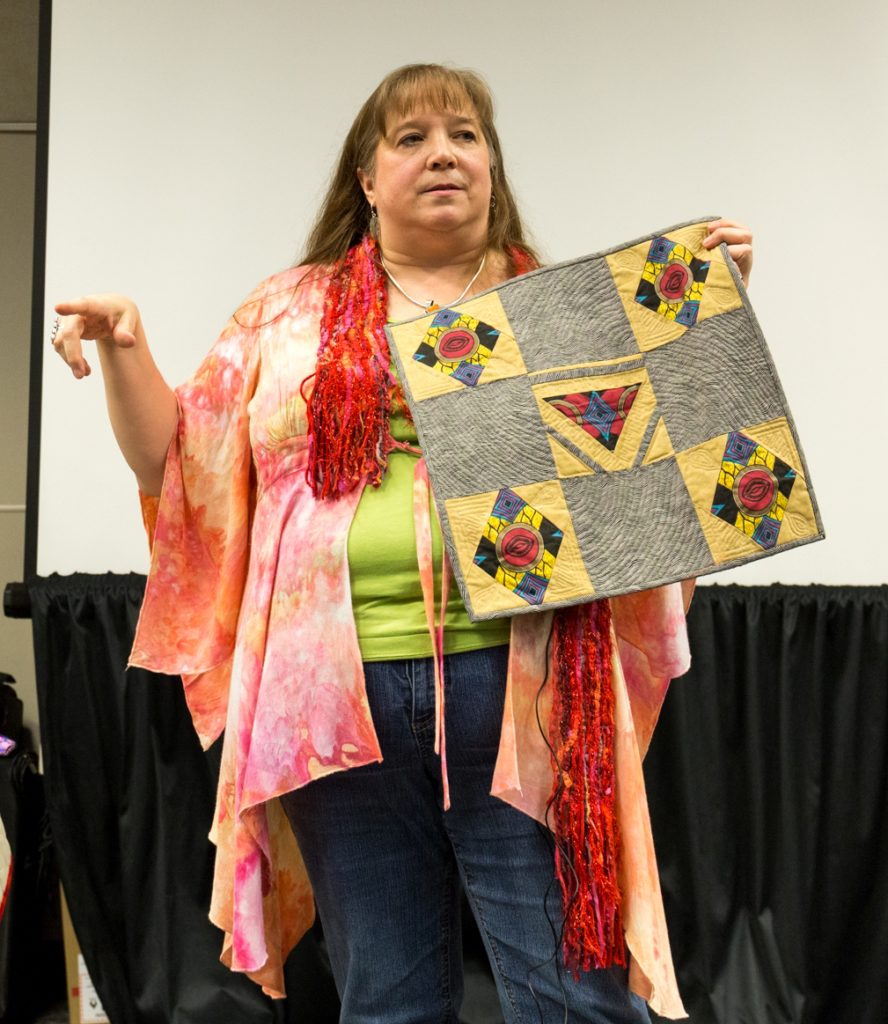
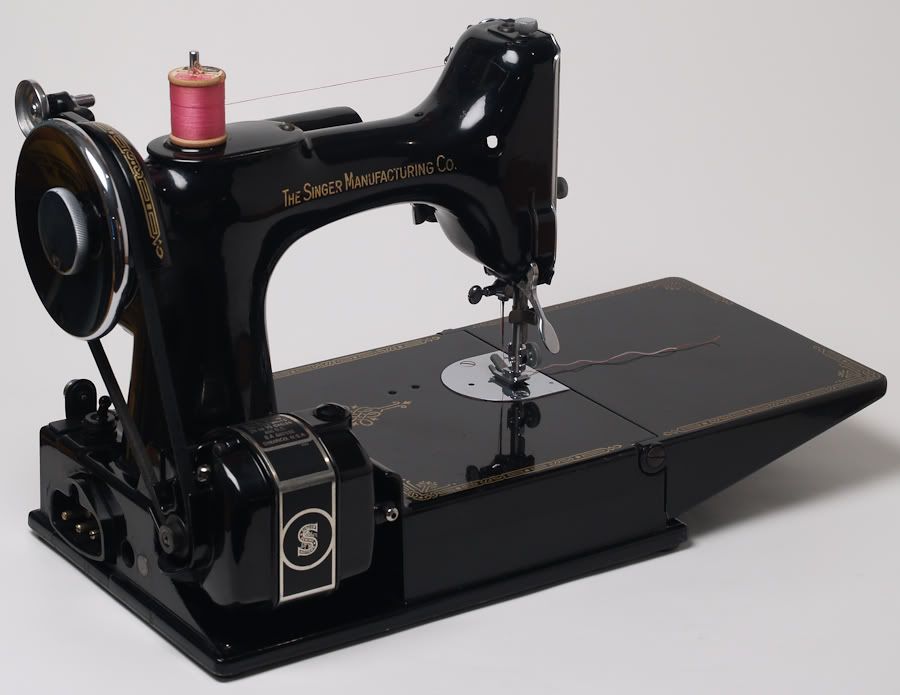
At Road 2017, Jennifer O’Brien from Sew Craft taught a $5.00 Lecture Class, Machine Quilting on your Featherweight. The first thing that the students learned was, yes, you can machine quilt using the small but mighty Featherweight. In fact, the principles are similar to any machine quilting project. [caption id="attachment_4904" align="aligncenter" width="625"] Photo by Brian Roberts Photography[/caption] In order to do free-motion machine quilting, there has to be free movement. Because the feed dogs on a Featherweight cannot be lowered, they need to be covered up so the fabric can move smoothly for quilting. Jennifer suggested using a Teflon pressing sheet cut the size of the arm of the Featherweight and secured to the machine using either masking tape or 404 adhesive spray. She also advised to cut a small triangle hole in the area where the needle goes in and out to avoid having the needle rub against the Teflon. Another adjustment to the Featherweight for machine quilting is trading out the pressure foot for a machine quilting pressure foot. She recommends a “big foot” because it has an oversize, clear foot. To start quilting on a Featherweight, start from the center of the project. With the pressure foot raised, put the material under the pressure foot then lower the needle down and up one time so that the bobbin thread just pops up. Pull the bobbin thread up to the top to prevent it from bunching up underneath the fabric. Once the thread has been secured on top, lower the pressure foot and begin gliding the material to free motion quilt the material. Jennifer made a video to demonstrate these starting tips: Because the sewing area of a Featherweight is limited, Jennifer cautioned that handling the fabric can be tedious. She recommended putting a table to the side of the sewing area to handle the weight of the fabric. [caption id="attachment_4907" align="aligncenter" width="440"] Photo by Brian Roberts Photography[/caption] As with all quilting, Jennifer said that Featherweight machine quilting takes practice, especially moving the fabric under the machine. She mentioned that quilting curves is easier than “stitch in a ditch” with a Featherweight. Jennifer suggested that the best way to practice is to make loops, L’s and C’s and even writing your name. Her final advice was to start small to encourage completing projects, pace yourself and don’t hurry.