Learn how to install zippers effortlessly in your DIY bags
Annie Unrein of ByAnnie.com and ByAnnie Soft and Stable, is one of Road to California’s consistent partners. You can find her at our quilt show in her vendor booth or teaching classes. At Road 2018, ByAnnie.com also co-sponsored with Road the Bag Challenge where entrants competed for $1,200 in cash prizes and merchandise.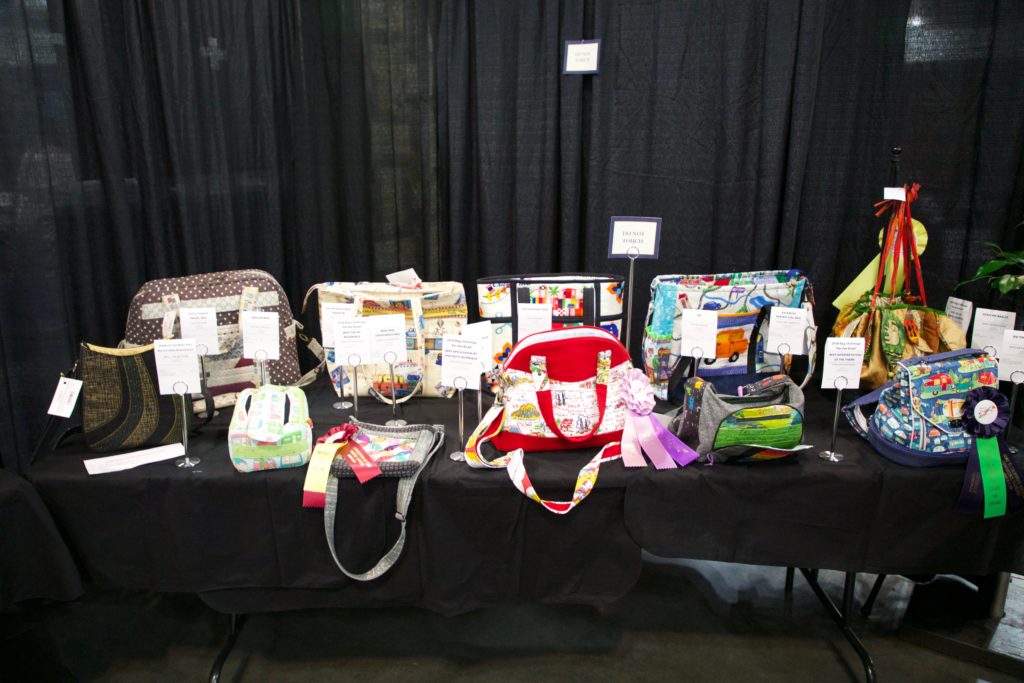 At one of Road 2018’s $5.00 Lectures, Annie shared all the ins and outs of using zippers to enhance and optimize handmade bags.
Like most sewists, Annie first learned how to do zippers in her Home Economics class in High School:
At one of Road 2018’s $5.00 Lectures, Annie shared all the ins and outs of using zippers to enhance and optimize handmade bags.
Like most sewists, Annie first learned how to do zippers in her Home Economics class in High School:
Sew a 5/8’ seam and press it open.
Place zipper face down on the seam
Sew around the zipper to secure to garment
Annie found that the first side went OK but sewing the second side of the zipper never went well. Consequently, she decided that “zippers were hard.” Instead of avoiding zippers all together, Annie went out and studied handbags and their zippers and did a lot of experimenting until she was able to come up with an easier way of inserting zippers into any sewing project. Part of the success of inserting zippers is the type of zipper you use for the project you are making.Handbag Zippers are made of nylon coil and have bigger pulls. They are very easy to sew on and to cut.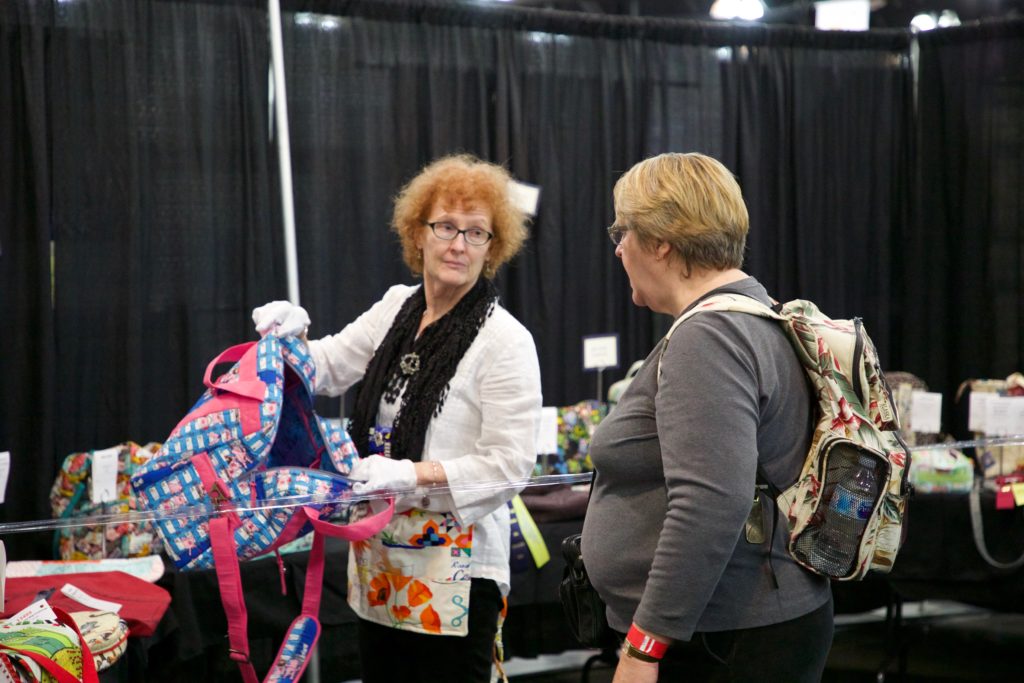
Sports Zippers have individual teeth that are wider, longer, and heavier. Because they are stronger, they are harder to sew and cut through.
Luggage Style Zippers “kiss” in the middle. They open to the outside and have a double slide which closes on both ends.
Jacket Style Zippers open from both ends and connect in the middle without a break.
One of the keys to zipper success is to use zippers that are longer than what the project requires. Annie says that a good rule is to have the zipper tape hang over 2-3 inches from the edge. ByAnnie.com makes and sells zipper tape by the inch and sells zipper pulls separately to make it easy to customize for any project.
Annie will be the first to tell you that her one step technique of inserting zippers isn’t fancy but its sure is a lot easier than the high school version: ]]>