A lot of people have been sewing in 2020. With a slower pace brought on by lockdowns and quarantines, many individuals have either started to sew, returned to sewing, or upped their sewing game. All that sewing and quilting means a lot of sewing machines are being used – which is a great thing. But it also means that those sewing machines need some purposeful attention to make sure they are working at their best. That attention includes regular and frequent cleaning – some of which can by be done DIY at home.
Why DIY Sewing Machine Cleaning
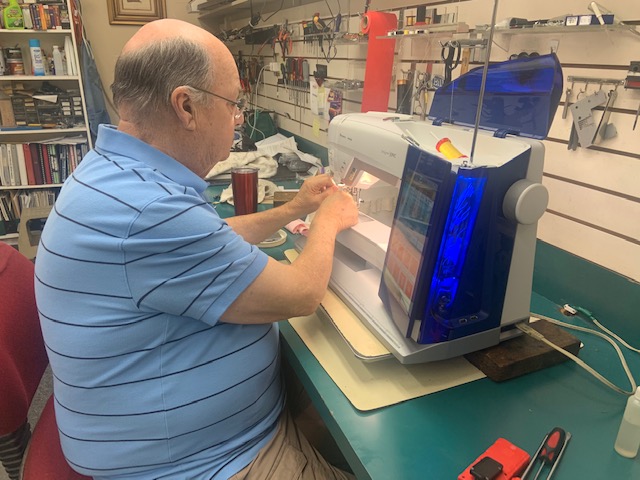
Road reached out to Bill Pollard, co-owner and frequent Road Sponsor, Pollard’s Sew Creative, who has been kept more busy than usual in 2020 servicing sewing machines. Bill has over 30 years’ experience repairing sewing machines.

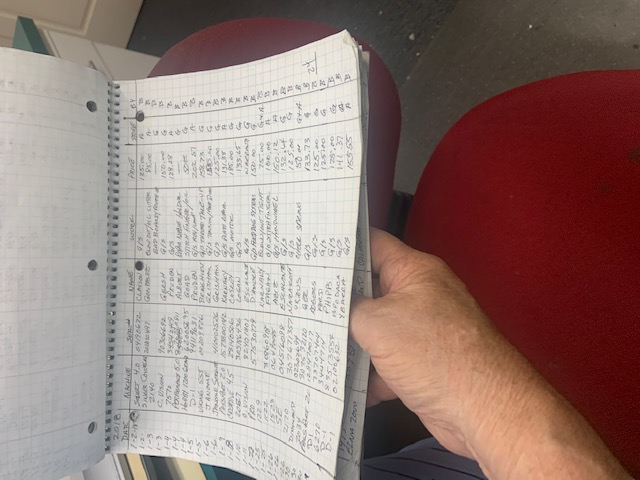
Generally, he fixes 3 sewing machines a day, five days a week, and keeps a log of all his repairs.
Bill started off by saying many of his customers feel so proud when they bring in their sewing machine and brag to him, “I’ve had my machine for 25 years and this is the first time I’ve ever had to bring it in.” What that is actually telling Bill is that they have neglected their machine for 24 years. Undoubtedly, when he opens the machine up, he finds that it is filthy inside and many of the parts are not working. Bill says that some of this wear and tear can be avoided if the owner spends some time with DIY Sewing Machine Cleaning. Here are 5 most common complaints Bill receives and what a sewing machine owner can do to avoid them:
Thread
Using poor quality thread wears a machine down. Thread begins to rot after 5 years. Old or bad thread causes lint to collect, both in the top and bottom of a machine. When thread is old, it also frays, disrupting the tension. “The biggest problem I find in older sewing machines is that the sewer is using old thread,” said Bill. What is considered good thread? “Any thread that costs more than $2.50,” replied Bill. Thread from Road Vendors like Superior Threads, Sulky of America, and Wonderfil Specialty Threads.
To avoid thread issues, Bill recommends cleaning out the tension area regularly.
Needles
Did you know that one out of every 100 needles produced is a bad needle? Therefore, there’s a chance the brand-new needle you are putting in your machine is a bad needle. Another way needles get in the way of efficient sewing is that they wear out and become dull.
What DIY Sewing Machine Cleaning attention should be given to avoid issues with your needle?
- Change your needle every 10 hours or with every project
- Use the right needle for your project
- Never use a “Singer” needle in a European sewing machine
- Be careful not to overtighten a needle when inserting it into the machine as it might strip the screw. When possible, only tighten by hand.
Tension
When customers come in and complain that “My machine doesn’t sew,” or “I’m getting looping,” Bill knows right away there is a tension issue. Bill related there are two areas to pay attention to with tension: flossing the tension and the tension dial.
Flossing your thread means making sure your thread has gone through the tension unit. The tension unit is made up of two washers that push together during sewing, putting pressure on the thread. To make sure the tension is working properly, as you thread your machine, the pressure foot needs to be up so the washers are open. If the pressure foot is down, the washers are closed, and the thread just lays on top of the washers. This results in looping on the back side of your project. Bill added that you can test to see if your tension is set properly by lightly tugging on the thread. If it resists, you are ready to put the pressure foot down and begin sewing.
Regarding the tension dial, Bill said it should never be set to zero. He always encourages customers to play with the tension dial especially when using different weight thread.
Bobbin Case
A bobbin case should be cleaned out after every use due to lint collection. DIY Sewing Machine Cleaning in the bobbin area is easy. Simply blowing on the case will get rid of the lint.
Another area of lint collection is with the feed dogs. Take off the plate and use tweezers to remove the lint.
Bill says that you should never use a bobbin that wasn’t made for your machine. Buy bobbins only from a dealer and not online. Generic bobbins that “works with” a type of machine are similar in size and shape but are not an exact fit.
Never wind a bobbin with more than one color thread. This plays havoc with tension especially if the threads are different weights.
Clean the Outside of a Sewing Machine
Bill related that this should be an obvious DIY Sewing Machine Cleaning step but many people ignore it. Dust it off after each use to avoid lint build up using a rag and a general-purpose cleaner like 409. Don’t put stickers or permanent ink on the outside of the machine.
These are great DIY Sewing Machine Cleaning Tips that should be done regularly to preserve your machine. However, Bill also recommends taking in your machine for professional cleaning and care at least every year. If you are a heavy sewer (sewing daily), you should take your machine in every 6-8 months.. One of the most important things a professional sewing machine repair person does is oil the inner most part of your machine. While you might think your machine does not need oiling, (that statement only refers to consumers doing the oiling), Bill reminds us that all machines require oil that only professionals can do.
A sewing machine is an investment. Like an automobile, it needs to be maintained and serviced regularly to perform at its best.