Registration for Road to California 2018 begins Saturday, July 8th at 8:00 a.m. PDT
Our online registration is fully automated. To make sure you are prepared for a positive experience, we are once again providing this online registration information. Please familiarize yourself with the steps below. If you have any questions or concerns, please contact us at info@roadtocalifornia.com.
Before you begin, please review the class lists and faculty information on our website. We are confident there are classes available to match all skill levels and interests.
Before July 8th, first make sure your internet browser plays nicely with others. Our system does not work well with
Internet Explorer and some versions of
Mozilla Firefox.
Google Chrome and
Apple Safari play really nice with others, and have been tested and verified to work on our system. Unfortunately, we have not been able to optimize our website for touch devices (including iPads & iPhones.)
On the same note, you should also make sure
prior to online registration that you have installed updates for your internet browser. This is very important to your own personal internet security and will enhance your experience with our online registration program. There is a great how-to article on updating your internet browser on the web that you can find
here
Now that we are done with computer housekeeping, lets move onto the
Second Step, logging on. Open that fancy new updated internet browser and navigate to:
https://online.roadtocalifornia.com. You should see a photo of our beautiful San Gabriel Mountains kissed with snow and the Road to California logo. If you have taken classes in the past, use the same email address and password and skip ahead.

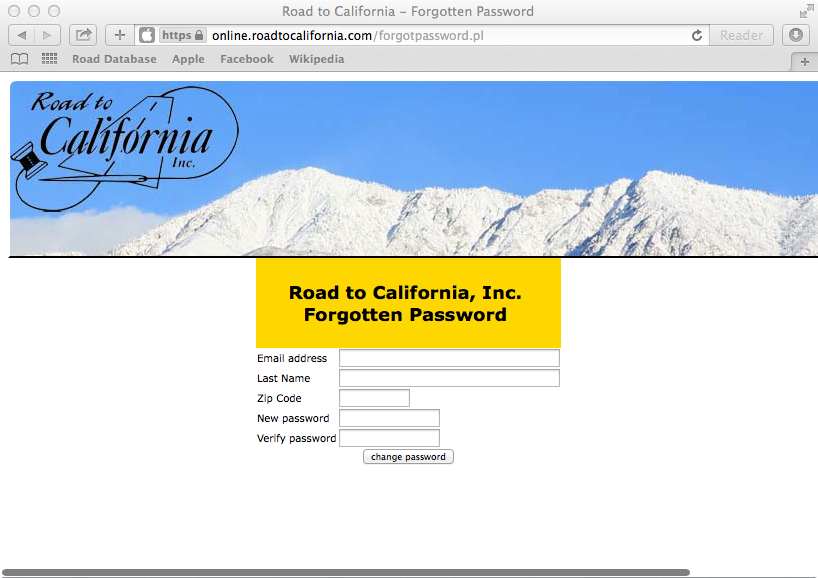
If you forgot your password, don’t worry; we’ve got you covered. Click on Forgot Password. A
yellow box should appear (See Photo Below). Fill out all the required information and click change password. Hint: Your new password needs to be 8 characters long and include a capital letter and a number.
If you don’t remember your email address, send us an email to: info@roadtocalifornia.com. We will be happy to assist you with your online account. In your email, please include your name, email address and mailing address. We will use that information to find your account and email you a new password.
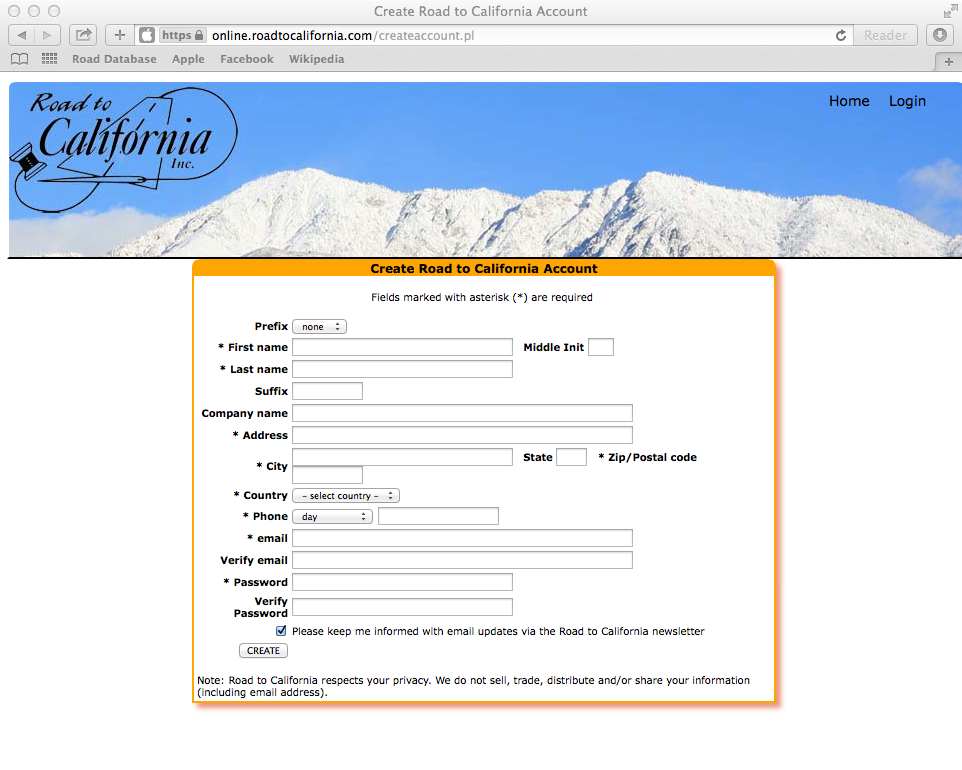
If you have not taken a class at Road before, click on the
blue create an account link. The following page should appear. Fill out all required fields and click create. Again, your password needs to be 8 characters long and include a capital letter and a number.
You should now be logged in! On
July 8th at 8:00 AM PDT you can move your mouse to ROAD2018 and click on Register!
Once you’ve clicked on Register, you will see the following screen. Make sure if you wish to purchase cancellation insurance, you drag over the Cancellation Insurance selection. Simply
Click,
Drag into your calendar and
Release when the calendar turns red.
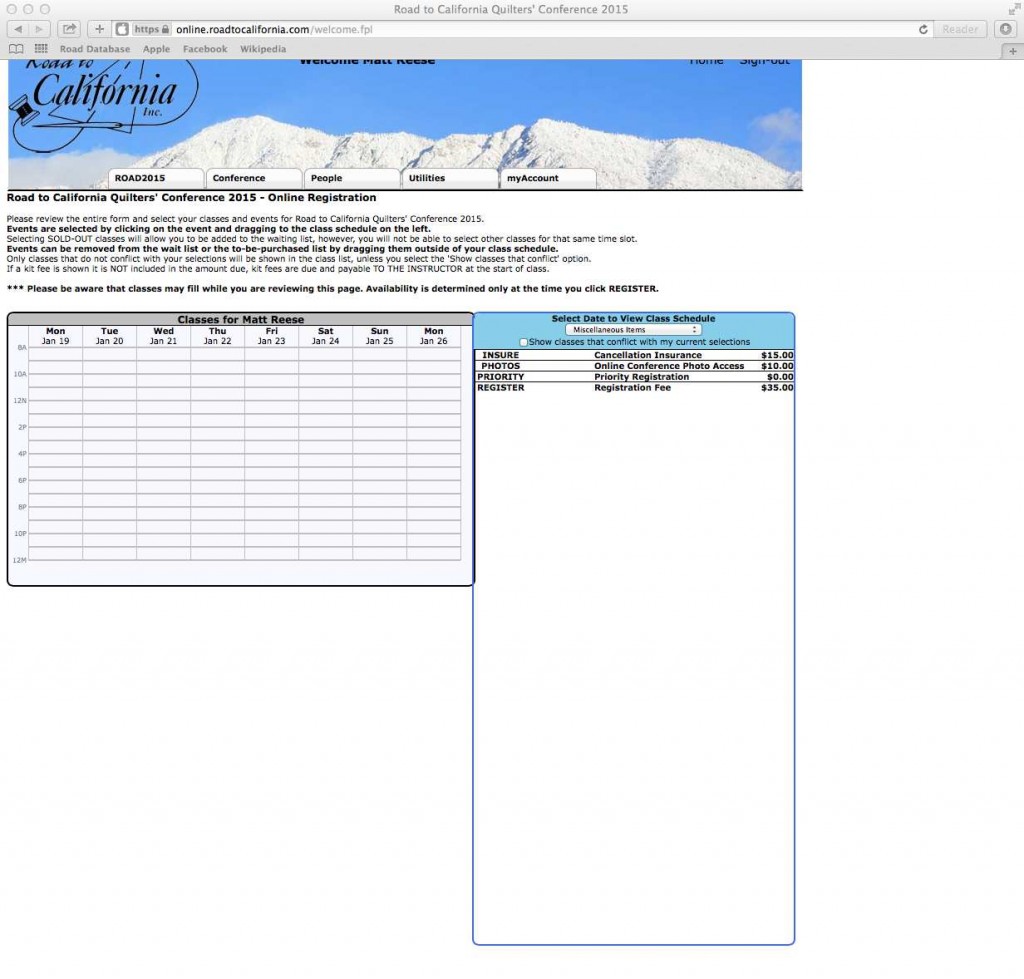
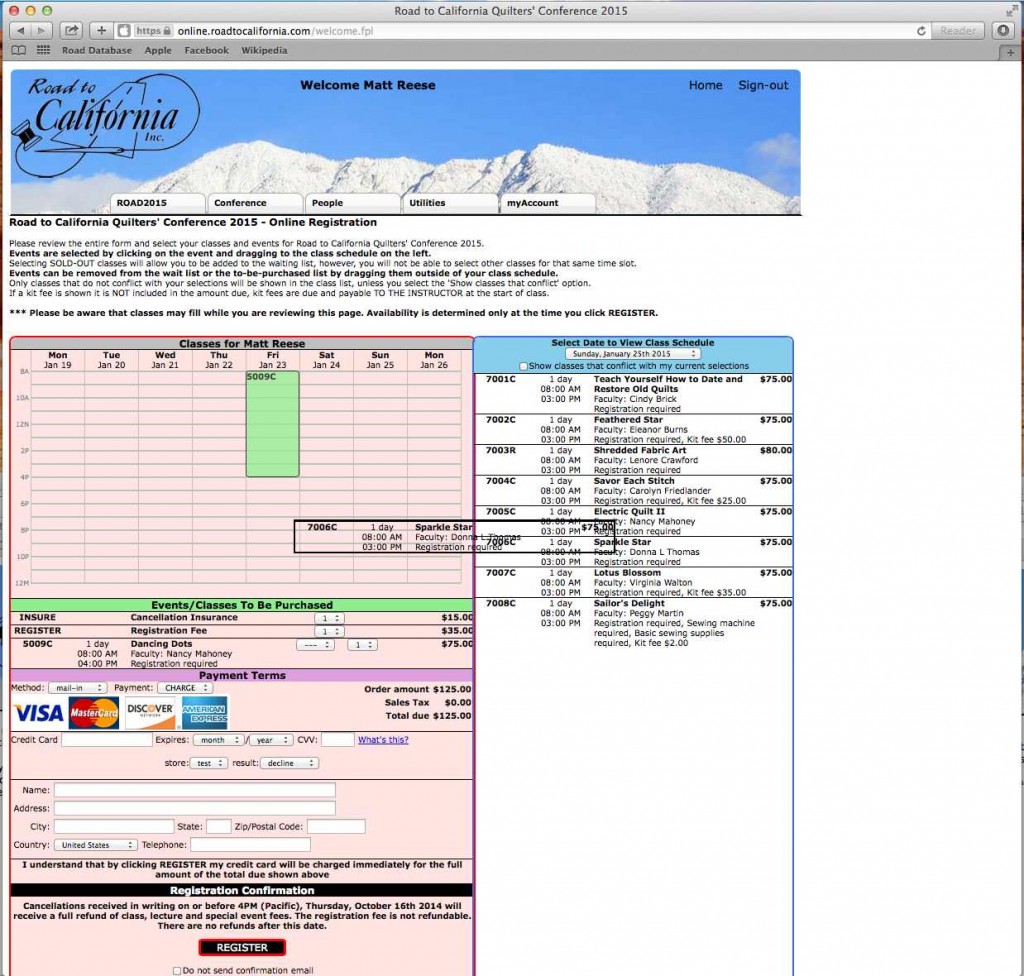
Change the drop down from Miscellaneous Items to the date of the class you wish to register for. Here we have chosen Friday, and want to take
Dancing Dots with Nancy Mahoney.
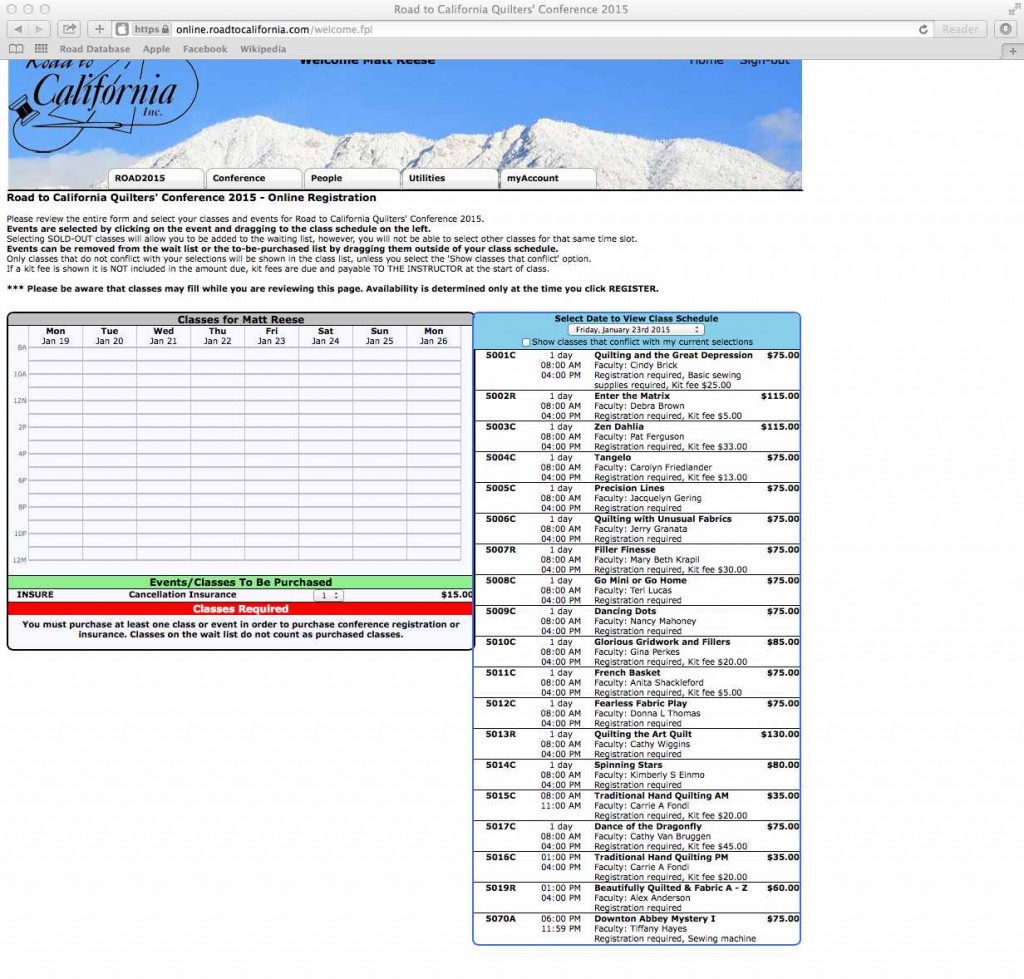
Simply
Click down on
Dancing Dots and
Drag the
Dancing Dots block over to the calendar (the calendar will turn red) and
Release.

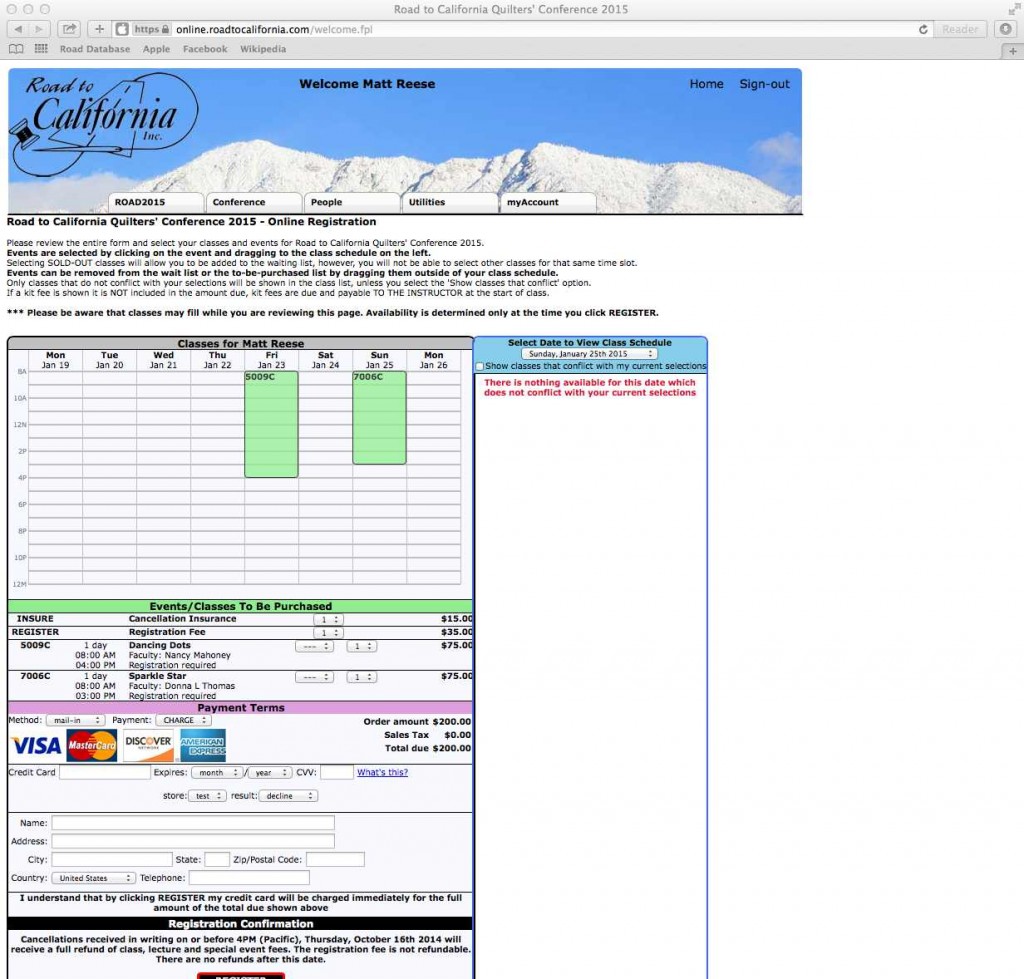
Let’s say you also want to take a Sunday class (gotta leave Thursday and Saturday to do some serious shopping in the vendor mall). Being a big fan of stars, you want to take
Sparkle Star with Donna Thomas.
 Click
Click down on
Sparkle Star,
Drag it over to the calendar and
Release. The calendar turns red when you have dragged the class to the proper location. Release when the calendar is red to enroll.
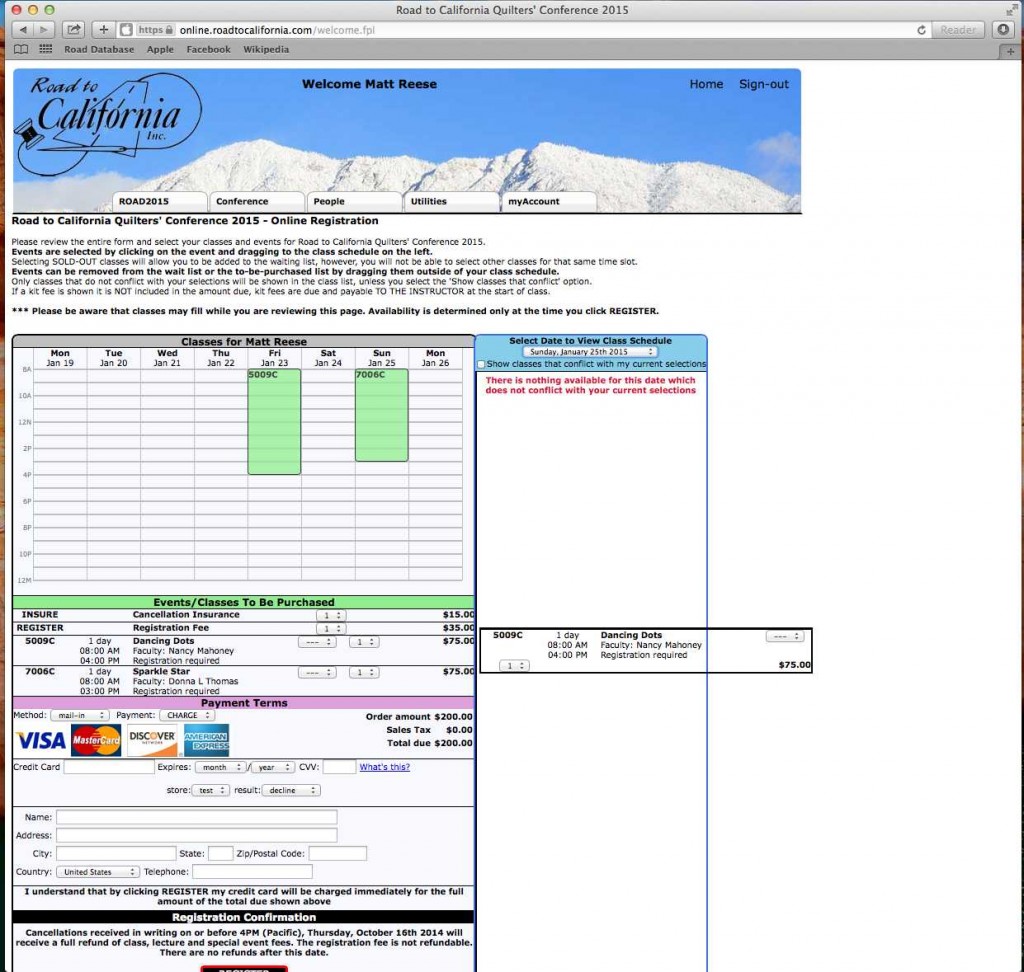
What if you change your mind and instead of taking a Friday class, you’d rather take a multi-day class? To remove the Friday class, simply
Click on the class under Events/Classes to be Purchased,
Drag it out of the calendar and
Release.
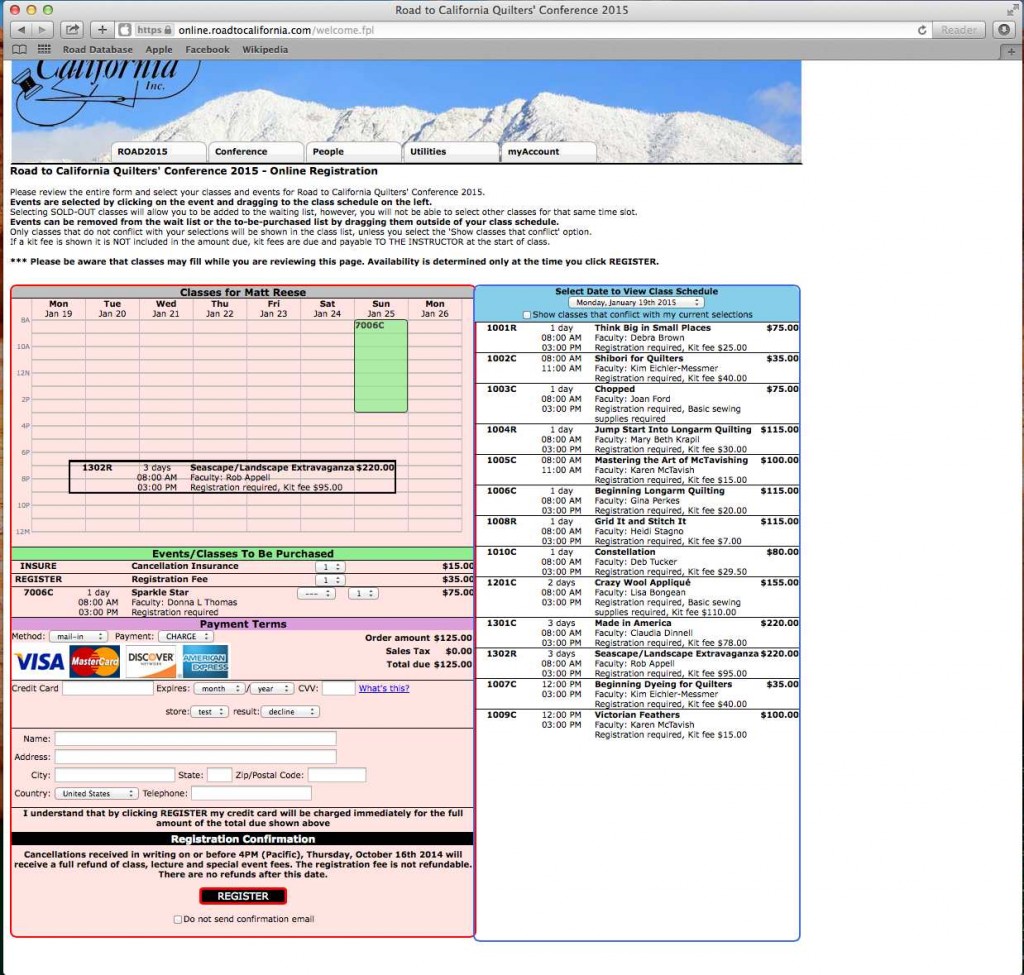
Multi-Day classes are sorted by the first day they begin. For example, you would love to take a class with Rob Appell, and he happens to be teaching a Three Day Seascape/Landscape Extravaganza starting on Monday!
Click on class 1302R,
Drag it into the calendar, and
Release when the calendar turns red!
Please note: We have made a change to our cancellation policy; we will no longer be offering cancellation insurance. Starting in 2016, Road to California’s cancellation policy will offer everyone a refund based off both the date they registered as well as the proximity to the show. Please go to our website for more information and to see a chart that explains our cancellation deadlines. .
Once you’ve verified that you’ve got all your classes, it’s time to pay and check out! Fill out your credit card information, and verify the contact information we have on file. Once your registration is final, our cancellation policy takes effect, so make sure to read it carefully when classes are posted online!
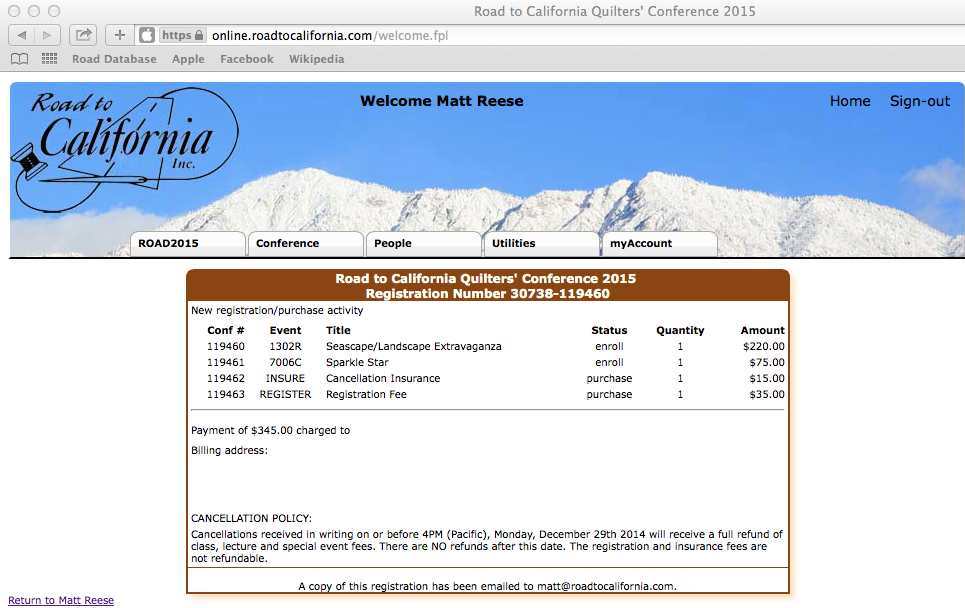
Click Register, and you will be redirected to a page with a confirmation of your registration. You will also receive an email with this information confirming your class enrollment. Take note of the cancellation policy found on the bottom of your confirmation. We do not grant exceptions for cancellation hardships. Please take special care to remember the dates for cancellation.
That’s it! Don’t forget:
Class registration begins on July 8th at 8 AM PDT! We can’t wait to see you in January!]]>
 Best of Show Road 2016 – Silk Road Sampler by Melissa Sobotka[/caption]
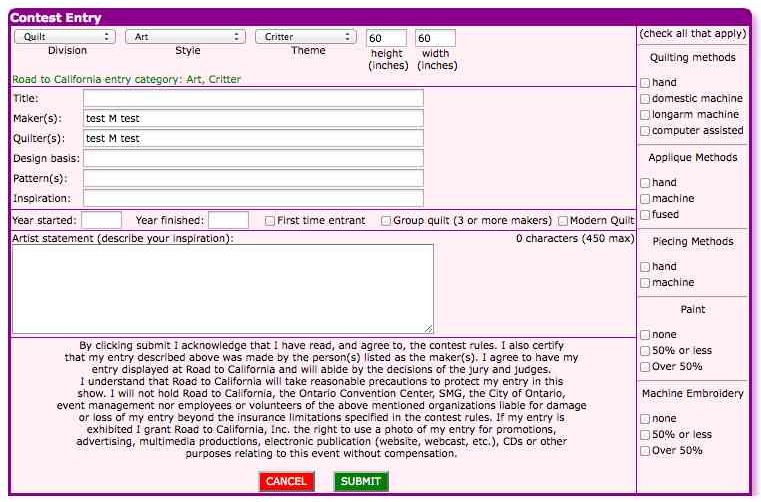
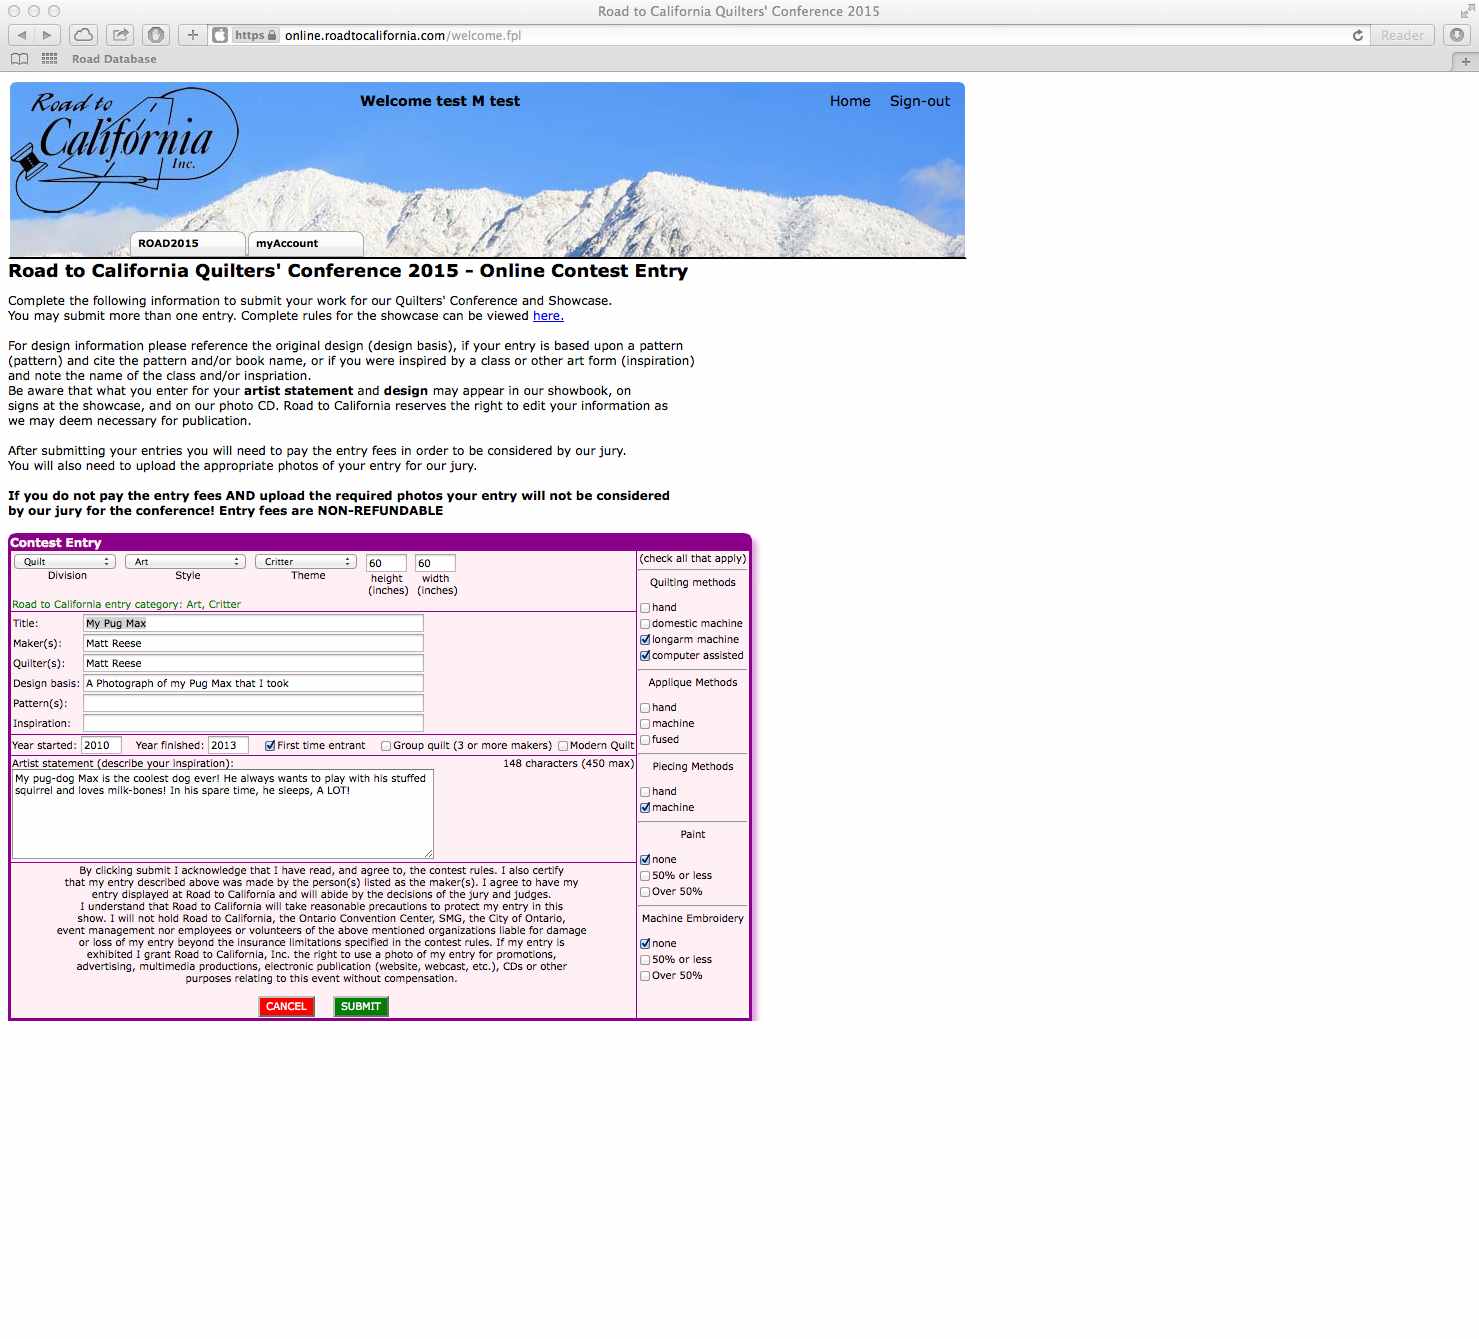 I started my quilt in 2010 and completed it in 2013. I am a first time entrant. I quilted my quilt with a computer assisted longarm machine.
Lastly, I completed my Artist Statement. Once finished click Submit.
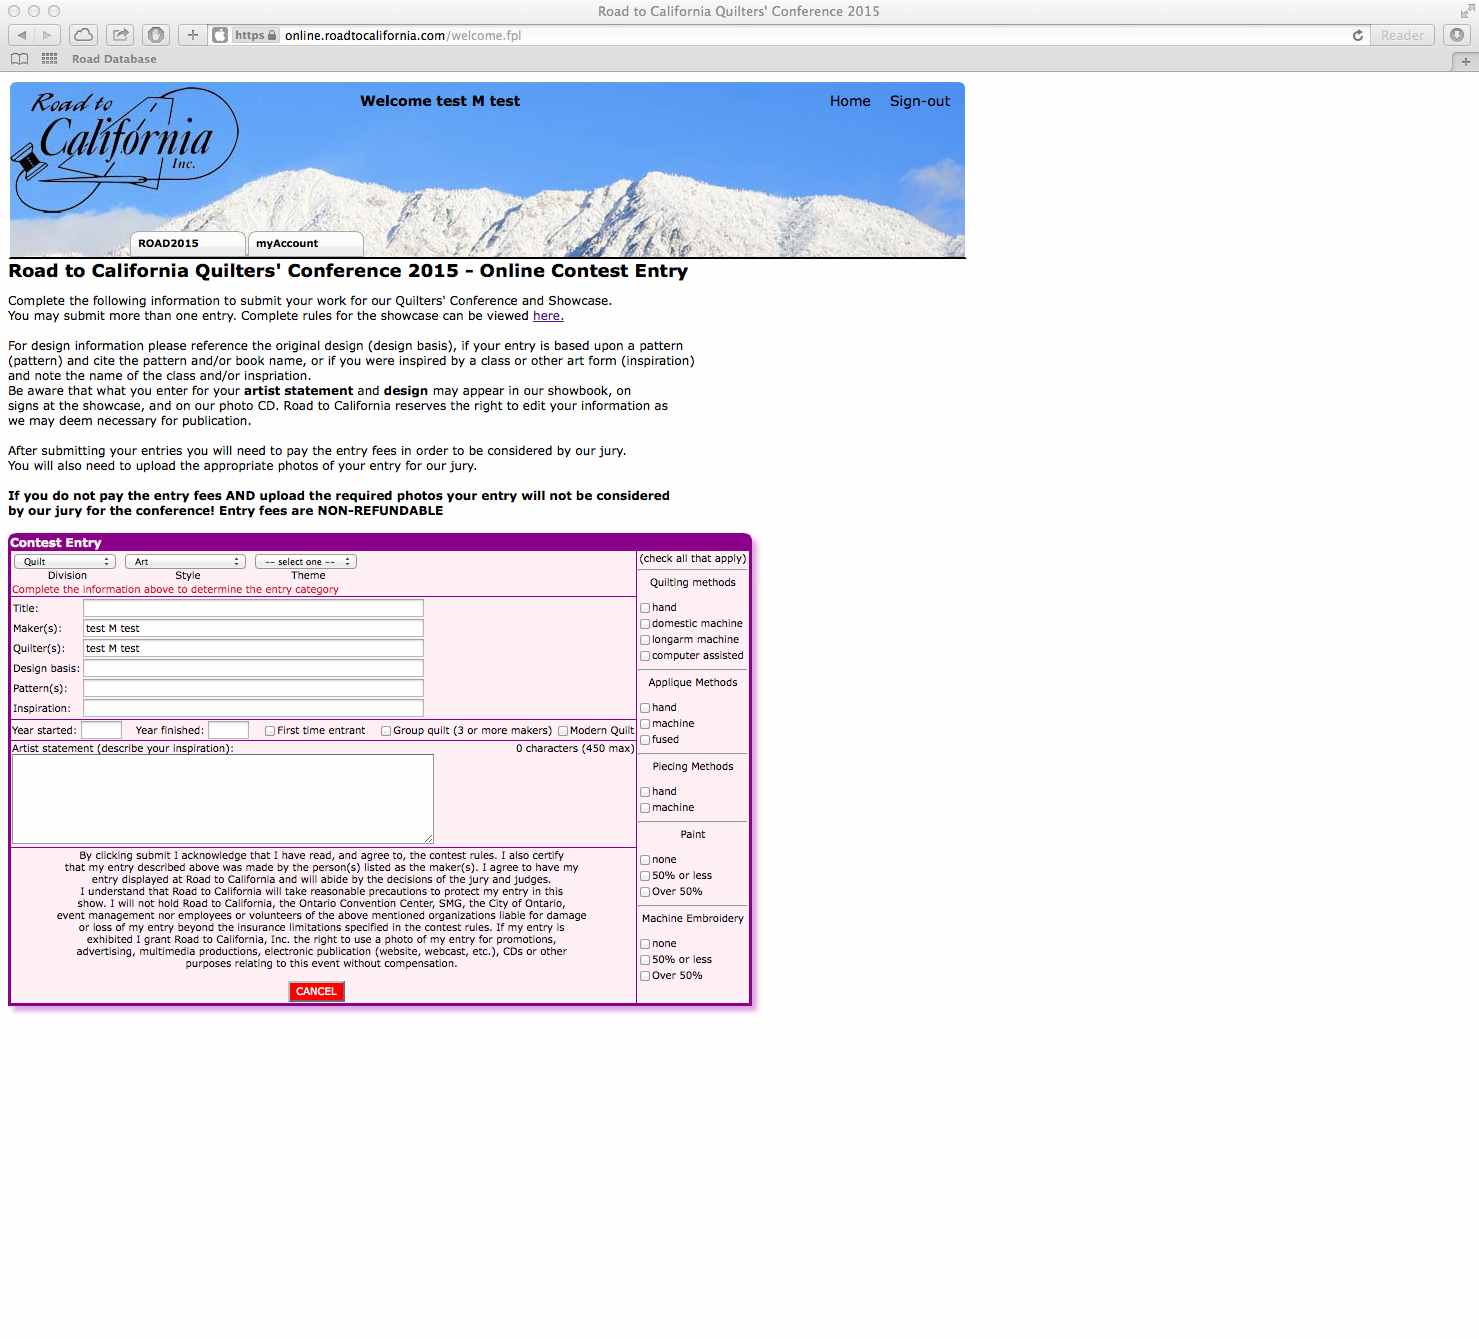
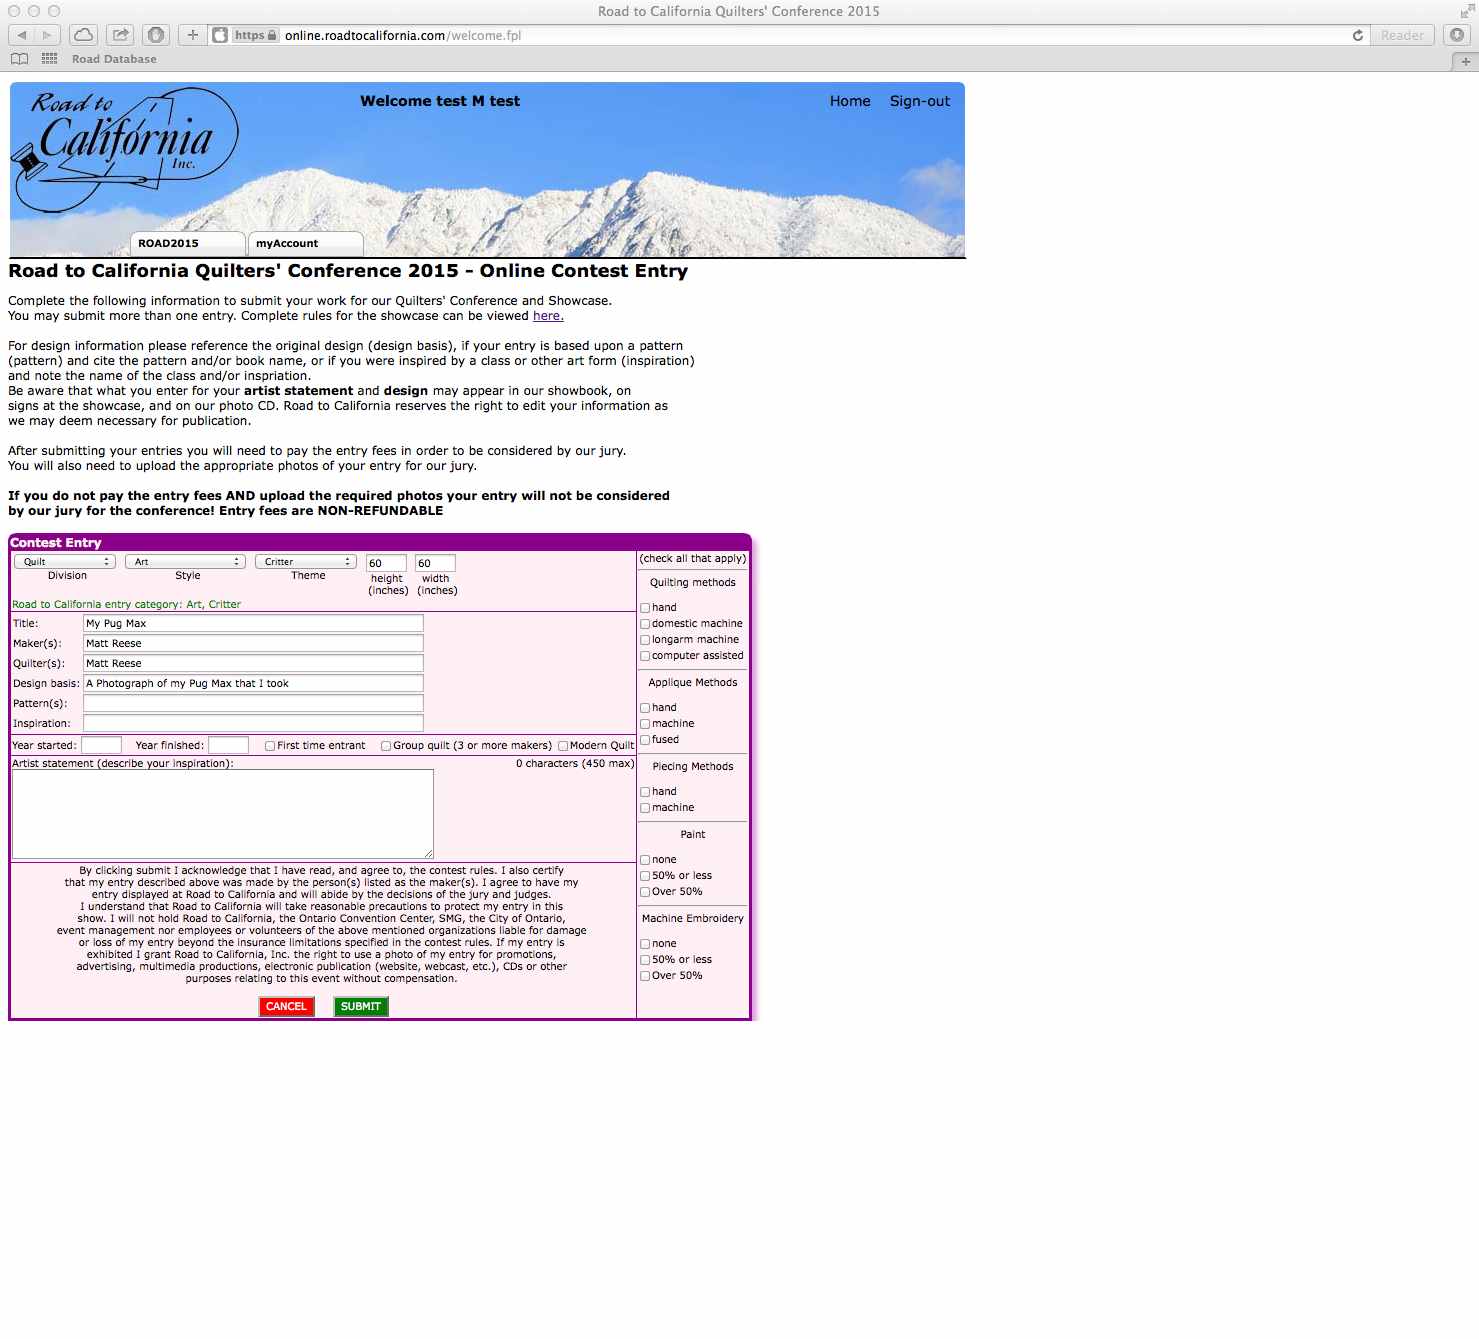
When you click submit, you should be taken back to your account home page which shows a purple box with Contest Entry information.
I started my quilt in 2010 and completed it in 2013. I am a first time entrant. I quilted my quilt with a computer assisted longarm machine.
Lastly, I completed my Artist Statement. Once finished click Submit.
When you click submit, you should be taken back to your account home page which shows a purple box with Contest Entry information.
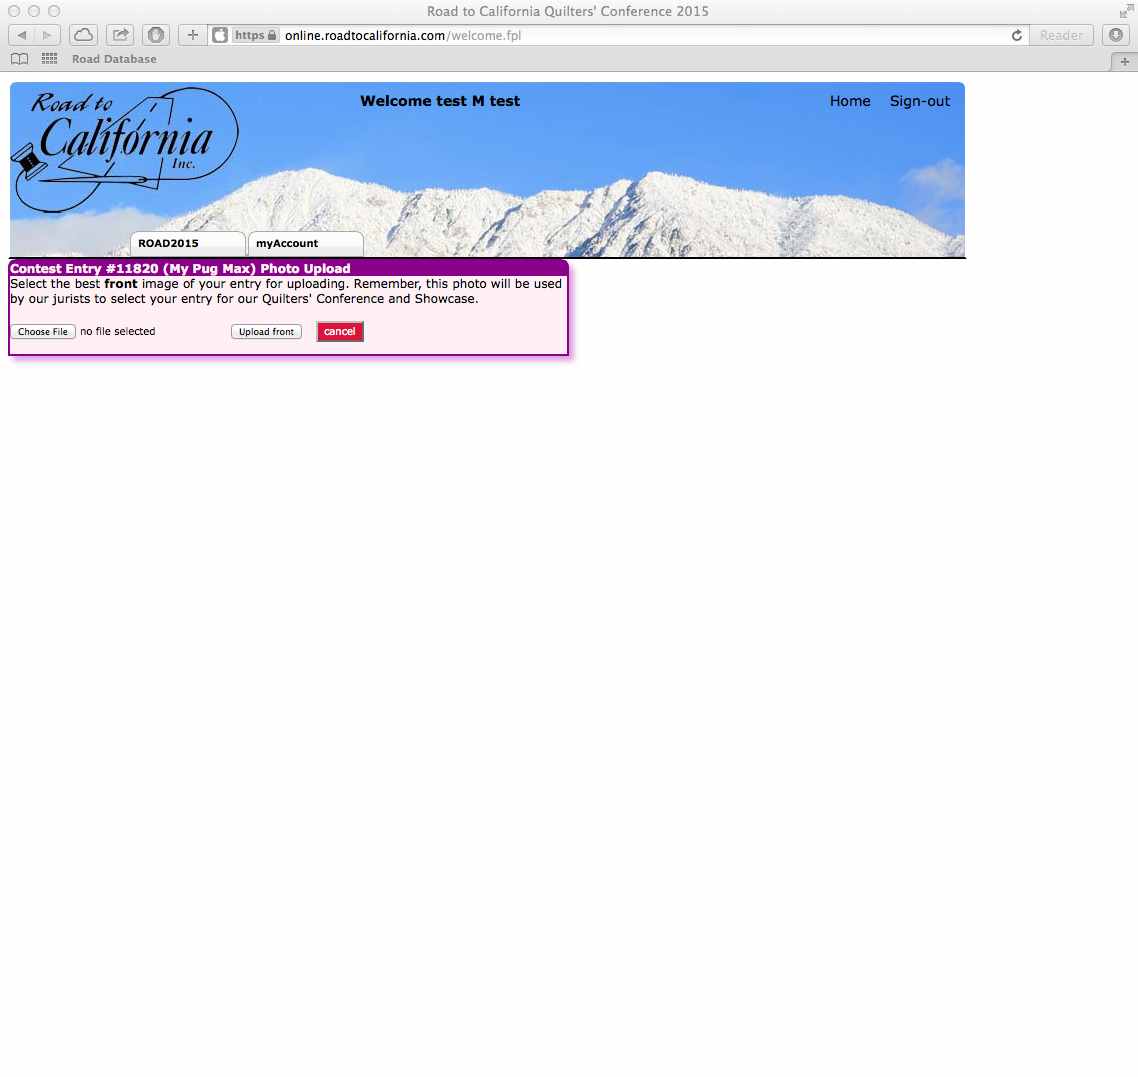
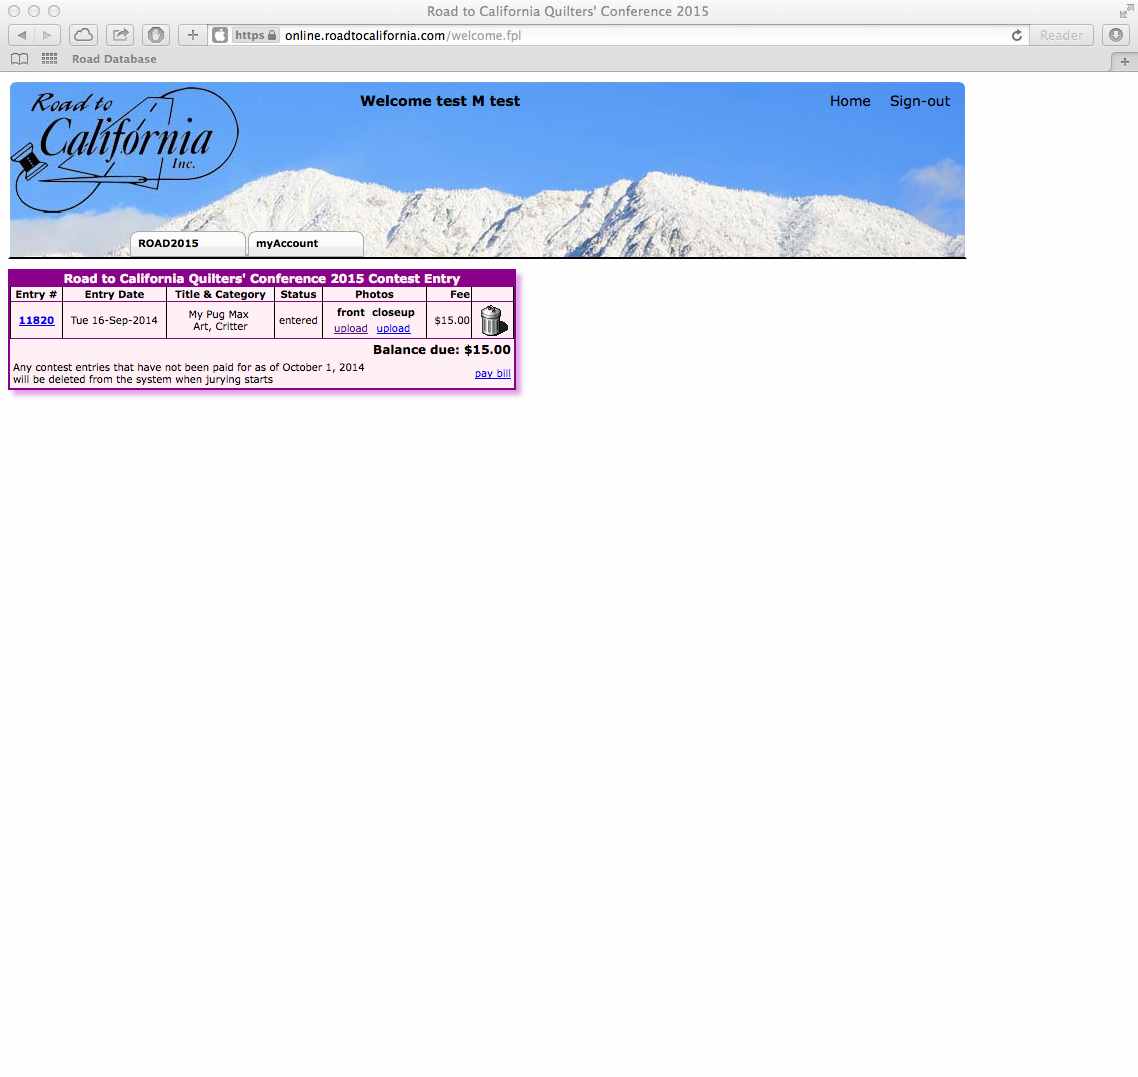 Next, I need to submit my Photos. Click upload under front to upload a front picture of your quilt. Helpful Hint: make sure your photos are at least 2,000 pixels on the smallest side prior to uploading. Any smaller than 2,000 pixels will be rejected.
 Once you have uploaded your photos, pay the entry fee by clicking pay bill. Enter your credit card information and you’re all set!
 If you have any questions about our online entry process, please let us know by email: info@roadtocalifornia.com