Cheryl Lynch taught a class during Road@Home May on how you can dye your own fabric.
Why Learn How to Dye Your Own Fabric?
For one reason, Cheryl pointed out that purchasing hand dyed fabric is expensive. She also said that when you dye your own fabric, “You get a surprise every time!!”
Students in her class had their reasons why they wanted to learn how to dye their own fabric. Cathy, from Kentucky, always wanted to learn the process. Sally from Los Angeles and Sonja from New Mexico had both dyed fabric before but were interested in learning Cheryl’s techniques. And Janet, from Los Angeles County said she likes to “learn new things.”
Preparation for Dyeing
Cheryl was a chemist “in my previous life” so being around chemicals is nothing new for her. However, she knows that isn’t true for most fabric artists, so she spends a lot of time at the beginning of her classes demonstrating how to prepare for dyeing before actually doing the process.
One preparation tip when you dye your own fabric: Never use the same utensils you use for dyeing for eating food. A residue always stays behind and cloth dyes are poisonous.
Another tip: Don’t store leftover fabric dye in the refrigerator. Again, you wouldn’t want someone to accidentally mistake the fabric dye for a beverage.
Supplies you want on hand to mix the dyes: Either plastic cups or baggies. Plastic cups make it easy to mix up the dyes and put the fabric in. They aren’t recommended to use if you have children or cats that could knock them over.
Baggies work best if there is a chance for any disturbances. They also help to distribute the dye better when you dye your own fabric.
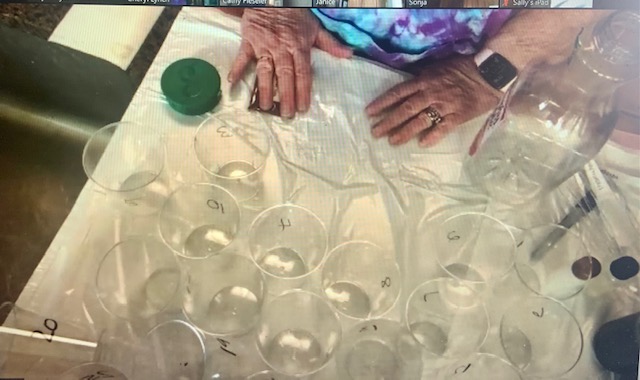
There should be one baggie or cup for every fat quarter you are dyeing. For this class, students used cups and had 30 fat quarters to dye. Cups were numbered 1 – 30 with a Sharpie marker for each of the dye selections. Cheryl said to also use the Sharpie marker to mark 4 cups on a plastic pitcher, so you don’t have to measure the amount every time.
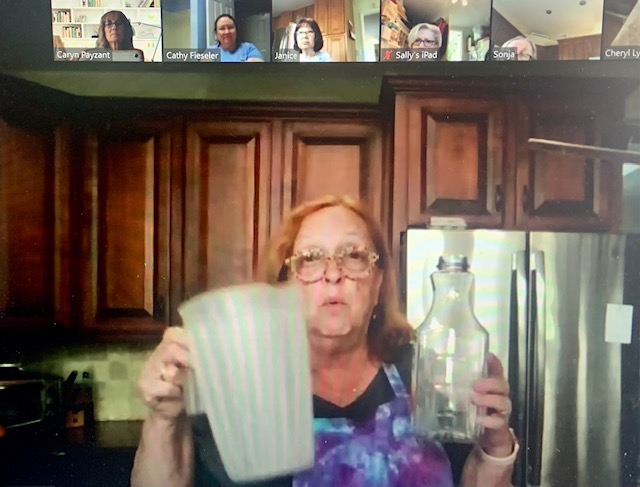
Another important supply is empty juice bottles. You will also need enough juice bottles depending on how many dyes you are working with. For this class, students had three different dyes. They marked their juice bottles A, B, and C for the three different dyes.
A tablespoon measuring spoon and a plastic spoon for each cup or baggie rounds out your supplies.
Mixing the Dyes
Cheryl recommends Pro Chem dyes when you dye your own fabric. They have lots of color palettes and come with instructions on how to mix the different color variants.
When mixing the dyes, wear gloves and an apron. If you get dye on your hands or clothes, it will stain. Cheryl said it takes several days for it to wash out of your hands.
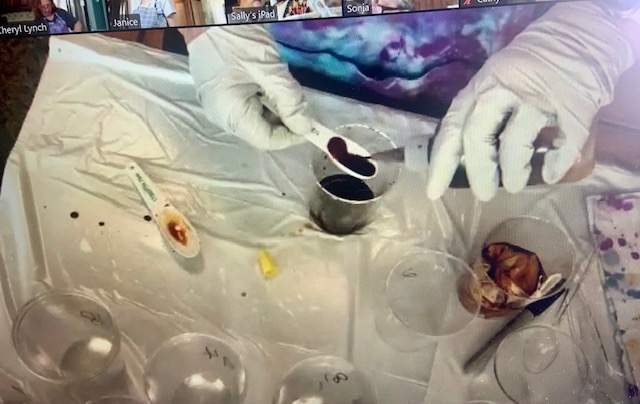
There is a warning when you dye your own fabric: don’t breathe in the dye powder. Cheryl recommends wearing a mask or holding your breath. Once the dye is mixed in the water, it’s safe to breathe.
Another tip for mixing the dye is to start with a little water in your juice bottles, add dye, shake and then fill with the rest of the 4 cups of water. Twist the cap on tight and give it a good shake.
In our next blog post, we’ll share Cheryl’s technique on how to apply the dye to fabric.