Adele Scott, an accomplished sewer, sewing machine repairman, and teacher, presented a class on Free Motion quilting tips at Road@Home May. She spent the beginning of her class time discussing how to prepare for free motion quilting. Then she focused on tips when doing the actual free motion quilting.
Sewing Machine Tips
Adele stressed the importance of having the best machine you can afford. When doing free motion quilting, use a full-size machine—not a smaller, travel size machine.
Begin and end using the needle stop down feature. This assures that you have complete stitches.
Regulate your stitching by keeping the speed consistent. Strive for a medium or slower speed that occurs when your foot pedal is all the way down. That way, you only need to worry about what your hands are doing when they manipulate the fabric.
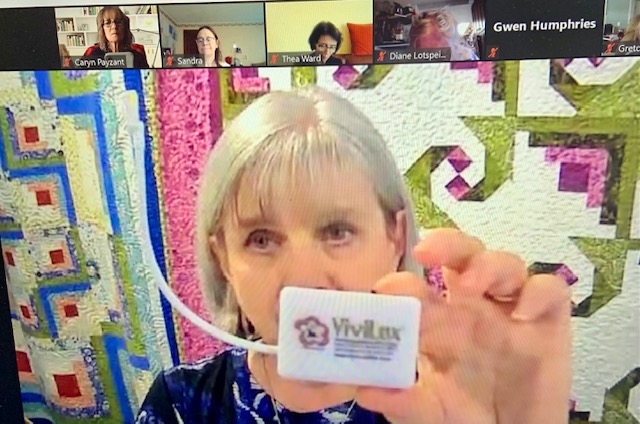
Add lighting to your work area. Adele likes to use a ViVilux light.
Use free motion feet (especially when using quilting rulers) and a straight stitch throat plate, one that has just one hole for the needle to go through. You don’t want to use a plate that has a wider opening for zig zag stitching. Using a one-hole plate helps to prevent “eye lashing” – having your threads pulled.
Needle Tips
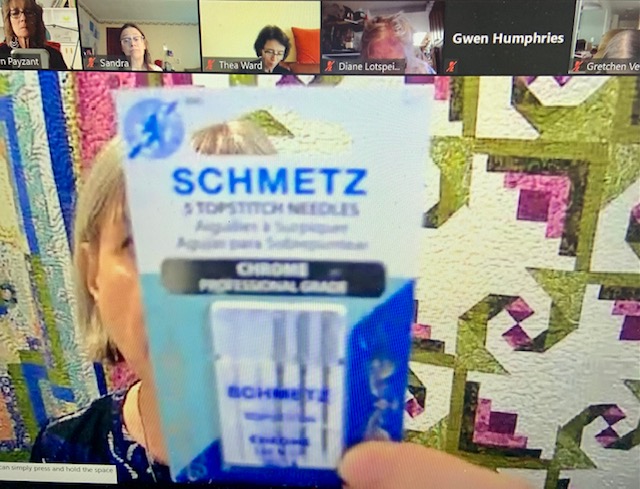
When doing free motion quilting, Adele suggests always using a 90-14 top stitch needle. The eye on a top stitch needle is twice the size of a regular needle. It is also thicker. A top stitch needle gives the thread a better place to “hide out” while you are figuring out where your free motion quilting is going. And most of all, a top stitch needle will help you avoid having your thread shred or break.
Any good quality thread like Mettler’s all purpose, medium weight, polyester is a good choice shared Adele.
Always test your stitch with your thread before beginning. Different spools react differently. A smoothly wound spool helps you keep a uniform tension.
Wearing gloves is always a good idea remarked Adele. Make sure you get gloves that fit your fingers. If your gloves are too loose, they will get caught under your needle or ruler.
Work Area Tips
Your posture matters warned Adele. You want to have your body higher than your quilt. Elbows should point downward. Keep elbows and shoulders relaxed.
When doing free motion quilting, make sure your work area has as much flat area space as possible. You want to be able to move your quit forward and backward and side to side.
Your work area should also be slippery. Ways to keep your work area slippery includes using a plastic tablecloth underneath your work and wearing an apron to keep your work from sticking to you or the table.
How to Handle a Bigger Quilt
Adele recognized that what keeps some people from trying free motion quilting is the size of their quilt to be quilted. The key to quilting a larger quilt is to plan ahead. Break down your quilt size into areas you can handle.
Other tips Adele shared for larger quilts included:
- Cut away excess batting from the section of the quilt you are working with. Before you cut, mark the area with a fabric marker and use a rotary cutter to cut away the batting.
- If your quilt is made up of blocks, quilt a couple of rows first, then add a couple more.
- Sashing is a great way to hide raw edges when joining quilted sections together.
With the great tips Adele Scott shared for free motion quilting, there is no excuse not to try it!!